

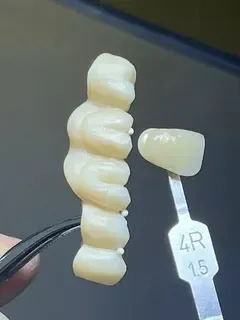
Custom Shade Matching

Calibrated shade photography, stump shade, and layered characterization — so the single anterior unit a dentist seats reads like the tooth beside it, not like a tab number.

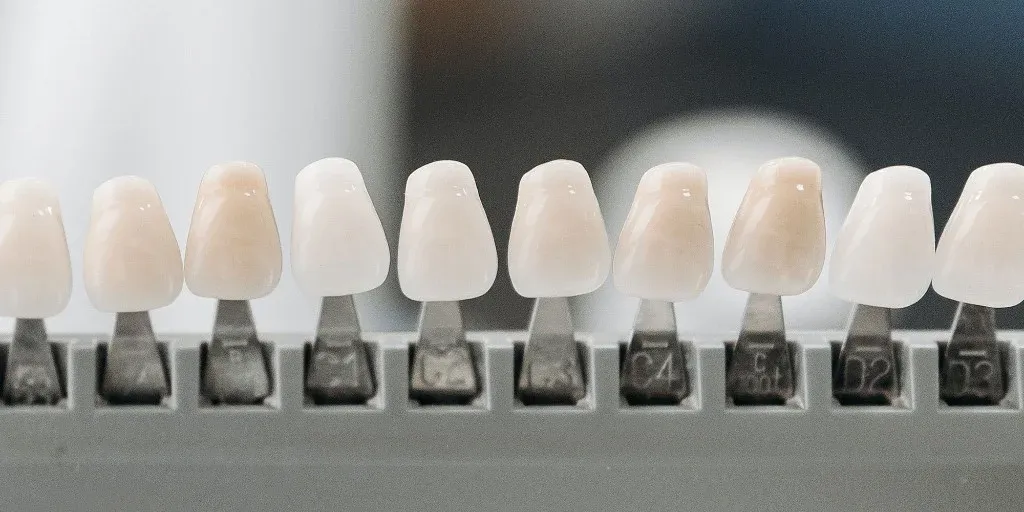
A shade tab held to a tooth in operatory light and copied to an RX is where most anterior color problems begin. Custom shade matching replaces that single guess with documented records the ceramist can actually build to.

Jahn De Khudikine, Founder · Universal Dental Lab
Jahn De Khudikine Founder · Universal Dental Lab

Why send it here

A shade that works on the stump but not at delivery failed in the photos. We match to your reference set.

A practice's schedule lives or dies by the lab — I've watched one late case push back a whole day of chair time.

So I still know the cases moving through this lab, and I answer for how each one is made. Send a case here and it doesn't drop into a queue — it lands with me and one technician who carries it start to finish.

Start a case
From your photos
Calibrated shade photos in — a matched unit out Reference tab · stump shade recorded
Value read first
Layered to the tooth beside it, not a tab Characterization matched to the neighbor
Your technician
One person holds your case Reach them directly — no call-center queue
Free scanner
3Shape TRIOS 6 for partners Go fully digital at no cost

Workflow

From Shade Photos to a Matched Restoration

A predictable four-step path, with a check under corrected lighting before the case leaves the lab.

  1. Capture

    You take shade photos with a reference tab in frame, plus a stump shade on prepped non-vital teeth. Cross-polarized images, when you have them, remove glare and show the true value.

  2. Map

    Our ceramist reads value first, then hue and chroma, and maps incisal translucency, mamelons, and any characterization the neighbor shows.

  3. Layer & Characterize

    The restoration is built to the map — internal stains, layering, and surface texture tuned to the dentition beside it, not to a tab in isolation.

  4. Verify & Ship

    The unit is checked against the photos under corrected lighting before it leaves the lab, with notes on anything worth confirming at try-in.

Input
Shade photos + STL
Records
Reference tab & stump shade
Material
Matched to the shade target
Turnaround
Quoted per case at intake
Shade photo of an anterior tooth with a reference tab held in the same plane

Overview

Custom Shade Matching for the Esthetic Zone

A shade tab held to a tooth in operatory light and copied to an RX is where most anterior color problems begin. Custom shade matching replaces that single guess with documented records the ceramist can actually build to.

The hardest case in the mouth is one central next to its natural twin. The eye reads value before it reads hue, translucency shifts along the incisal third, and a non-vital stump changes everything a translucent ceramic does over it. None of that survives a tab number written down and read again hours later at the bench.

  • A shade map, not a memory: Calibrated photography, a recorded stump shade, and a map that follows the case.

  • Blend, not announce: The discipline that makes an anterior restoration read like the tooth beside it.
Learn more
Cross-polarized shade photograph removing surface glare from an anterior tooth

Photography First

What the Camera Sees, the Bench Can Build

A shade photo with a reference tab in the same plane as the tooth captures value, chroma, and incisal translucency together — and cross-polarized images strip the glare that hides all three. That is a record a ceramist can layer to.

  • Reference tab in frame: Held in the same plane as the tooth, ideally under corrected lighting.

  • The stump gets recorded: A stump shade on prepped non-vital teeth tells the ceramist what is being built over.

Learn more
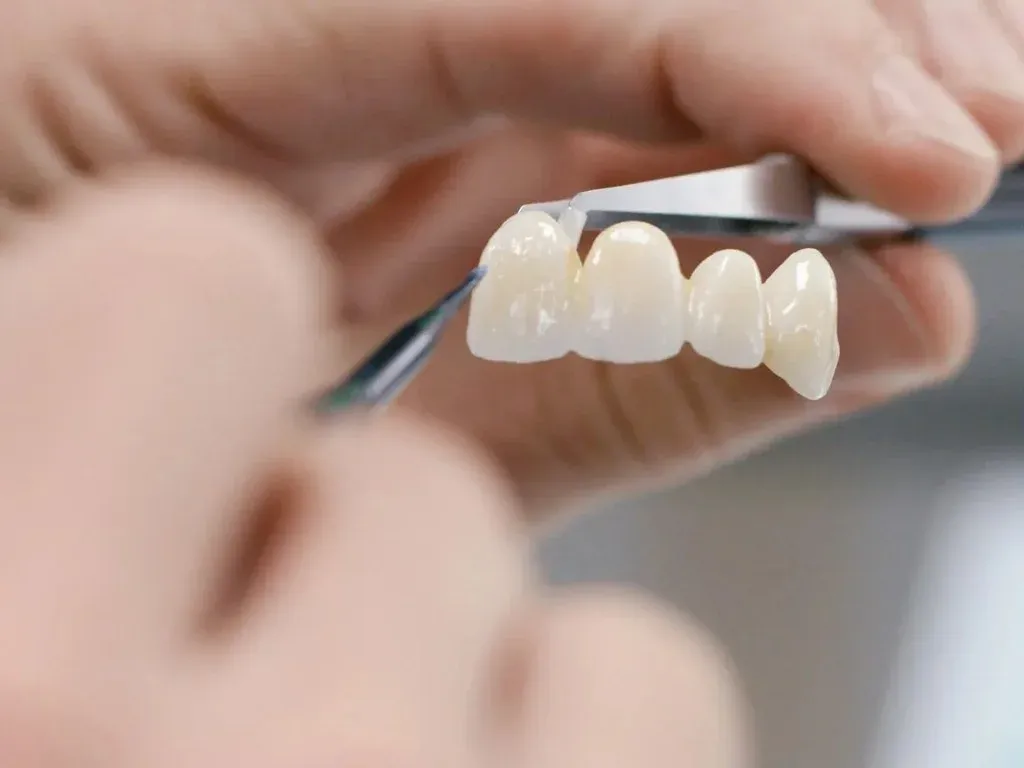
Ceramist comparing a layered anterior crown against shade photos under corrected lighting

Layering

Built to the Map, Not to a Tab in Isolation

The restoration is built to the shade map — internal stains, layering, and surface texture tuned to the dentition beside it. Where a dark stump is in play, the layering is planned to mask it rather than fight it at try-in, and the finished unit is checked against your photos under corrected lighting before it ships.

  • Read value-first: Then hue and chroma, then characterization — mamelons, incisal halo, and texture.

  • Verified before it ships: Compared against your photos under corrected lighting, with notes for the try-in.

Learn more

Applications

Where Custom Shade Matching Earns Its Place

Not every case needs it — but where it matters, it is the difference between a seat and a remake.

Single Anterior Units

A central or lateral next to a natural neighbor — the hardest match in dentistry, where a tab shade rarely survives contact with the tooth beside it.

High-Value Esthetic Zone

Veneers and crowns where the restoration sits in the smile line and a visible mismatch means a remake, not an adjustment.

Non-Vital & Discolored Preps

A dark stump or post shows through translucent ceramic — the stump shade drives whether the final reads natural or gray.

Multi-Layer Characterization

Cases needing internal staining, incisal translucency, mamelons, and surface texture built to mirror the adjacent dentition.

Bleached & Bright Dentition

Shades beyond the standard tab range, where a bright, high-value match has to be documented rather than guessed.

Cross-Arch Blends

A restoration that has to read consistently against both the same-arch neighbor and the opposing tooth in function and at rest.

When It Applies

When Custom Shade Matching Is Worth It

  • Single anterior units beside a natural neighbor
  • Veneers and crowns in the high-value esthetic zone
  • Non-vital and discolored preps needing a stump shade
  • Multi-layer characterization matched to the dentition
  • Bleached and bright dentition beyond the tab range
  • Cross-arch blends read against same-arch and opposing teeth

Where the case does not sit in the smile line, a documented tab shade may be enough — the discipline is chosen per case, not per lab habit.

Advantages

Why Document the Shade

  • Photography Over Memory

    Calibrated shade photos capture value, hue, and translucency far more reliably than a tab number written on an RX and read hours later at the bench.

  • The Stump Gets Recorded

    A stump shade tells us what the ceramist is building over, so a dark prep or metal post is compensated in the layering — not discovered at try-in.

  • Fewer Esthetic Remakes

    The most common anterior remake is shade, not fit. Documented shade communication removes the guesswork that drives it.

  • Repeatable Across Stages

    The recorded shade map follows the case, so a redo or an added unit later matches the first — instead of a fresh guess.

Where shade earns its place

The most common anterior remake is shade, not fit. Calibrated photography, a recorded stump shade, and a value-first shade map remove the guesswork that a single tab number leaves behind — so the restoration blends instead of announcing itself.

Materials & Quality

Materials, Layering, and Quality Control

Material Selection and Characterization

Value and translucency drive the material choice as much as strength does. Lithium disilicate and layered porcelain each handle incisal translucency and internal staining differently, and our ceramists advise which suits the shade target and the prep. Where a dark stump is in play, the layering is planned to mask it rather than fight it at try-in.

Read the full quality process Show less

Reading and Checking the Shade

Shade is read value-first under corrected lighting, then hue and chroma, then characterization — mamelons, incisal halo, and surface texture matched to the adjacent dentition. The finished unit is compared against your photos before it leaves the lab, and anything worth confirming is noted for the try-in.

Esthetics That Repeat

Because the shade map is recorded, an added unit or a redo later comes back to the same target instead of a fresh guess — which keeps a staged anterior case consistent from the first tooth to the last.

Case Submission

Sending a Custom Shade Matching Case

We accept scans from iTero, 3Shape, and Medit for geometry — but the shade lives in the photography, so send both.

To keep your case moving, include:

  • Shade photos with a reference tab in the same plane, under corrected lighting
  • A stump shade for any prepped non-vital or discolored teeth
  • The prescription with the agreed target shade and any characterization notes
  • Photos of the adjacent and opposing teeth for value and texture
  • The intraoral scan or impression for margins and geometry

Common misses are a shade written but not photographed, a missing stump shade on a dark prep, and glare-heavy images. New to the lab? Open an account and we will set up your first anterior case.

Why Universal Dental Lab

Why Practices Send Anterior Shade to Us

  • Photos and Tab Reconciled First

    When the shade photo, stump shade, and written tab disagree, we clarify before the first layer — not after a central looks off at try-in.

  • Shade Map on the Case File

    Corrected lighting, reference tabs, and a recorded map per unit keep layering consistent even when the case spans several appointments.

  • One Central or Full Anterior

    The same shade protocol applies to a single stubborn central and to a multi-unit anterior segment so neighbors do not mismatch at delivery.

Start a case

Send one case. Keep the scanner.

Open a partner account and your first case moves with a shade record and our remake guarantee — if a unit does not seat, we redo it at no charge.

  • Free 3Shape TRIOS 6 scanner for active partners
  • Under-2% remake rate — remakes at no charge
  • One named technician you reach directly — no call center

Prefer to talk? +1 747-268-0808

No call center — you hear back from the lab, not a bot.

Shade Matching FAQ

Custom Shade Matching — Questions Dentists Ask

Tabs describe a flat chip under one light; natural teeth vary in value, translucency, and characterization by zone. A single number without context often matches the body shade and misses the incisal halo or cervical warmth — which is what patients notice at delivery. We treat shade as a record set, not one letter on the RX.

Hold the tab in the same plane as the tooth, use consistent corrected lighting, and include the adjacent teeth and gingiva for context. Avoid flash hotspots and auto white balance shifts between frames. Multiple angles beat one hero shot when the case needs blending into a complex arch.

How to send a file

A stump shade photo or description, the desired outcome shade, and honest prep depth on the RX. Translucent ceramics amplify underlying color; without stump documentation we either block out conservatively or ask before layering. Bleached stumps and old composite cores should be noted — they change how value reads.

You set the target with the patient; we map it to layered structure — dentin body, enamel overlay, incisal effects, surface texture. If photos and tab disagree, we clarify before bake rather than guessing. Heavy characterization cases may reference a wax-up or approved design for contour as well as color.

It replaces the guesswork before finish in many cases; a custom shade or stain appointment still helps on the hardest matches. Aligning contour through anterior case design first makes shade easier because proportion and surface texture are already settled. Send scans for geometry and photos for color together.

Anterior case design

Partner Offer

A Free Intraoral Scanner for Partner Practices

Partner with Universal Dental Lab and we place a 3Shape TRIOS 6 Wireless in your operatory — free for the length of our partnership. Scan the prep, send it in seconds, and skip impressions entirely.